Room Makeover
Your room, redesigned in one run.
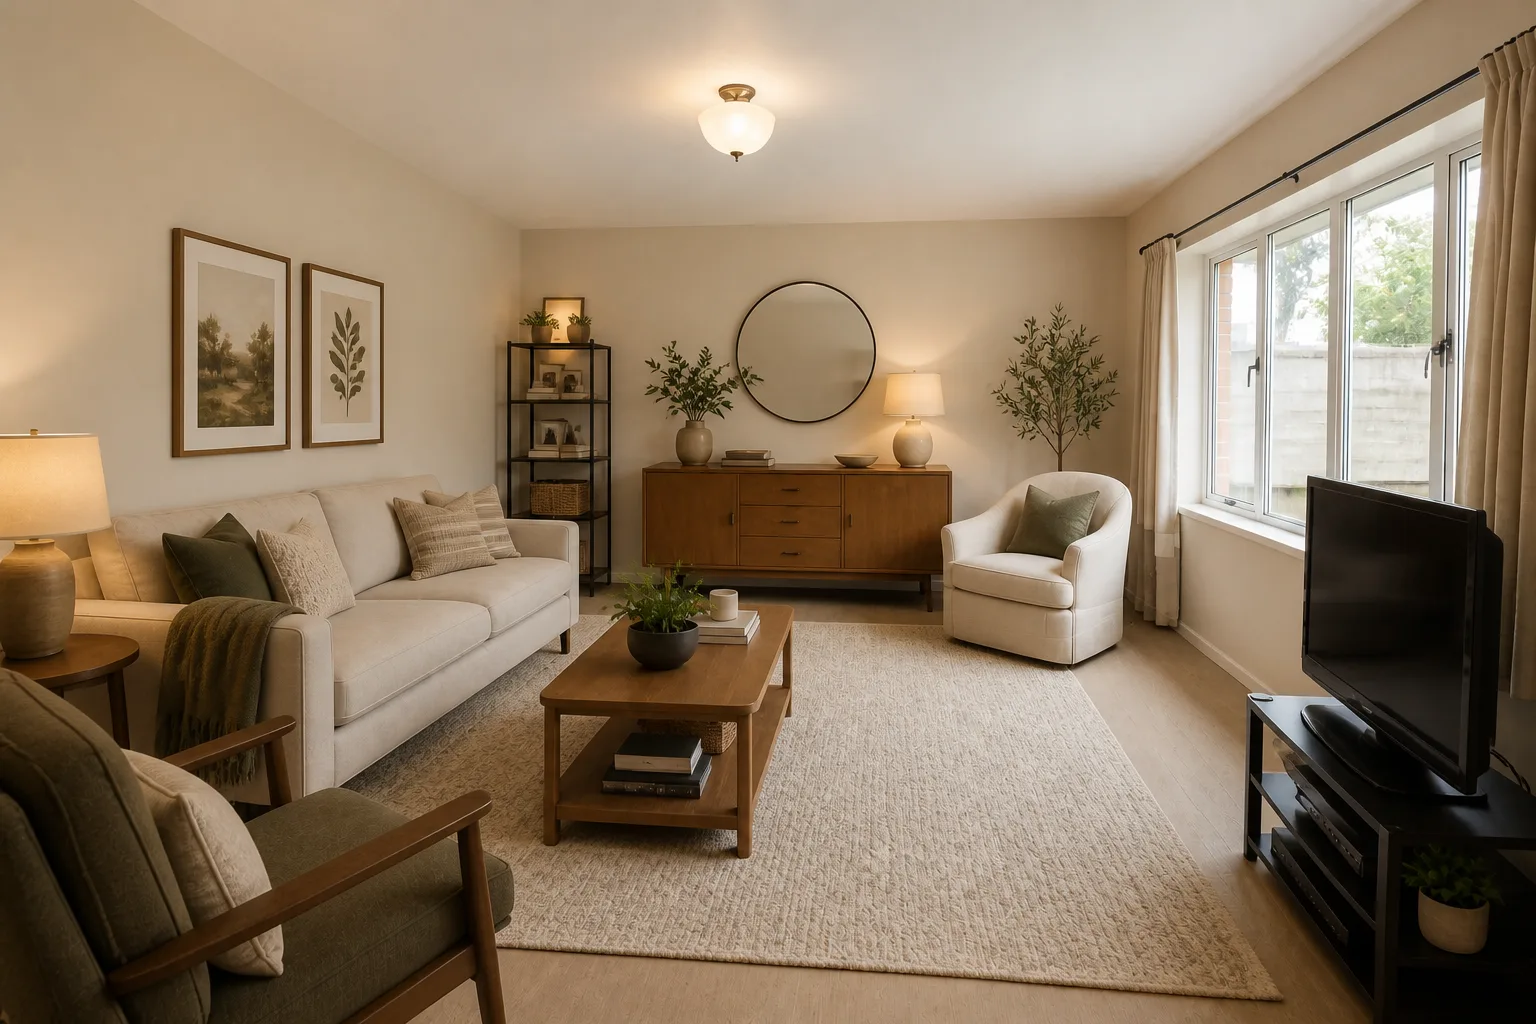 BeforeAfter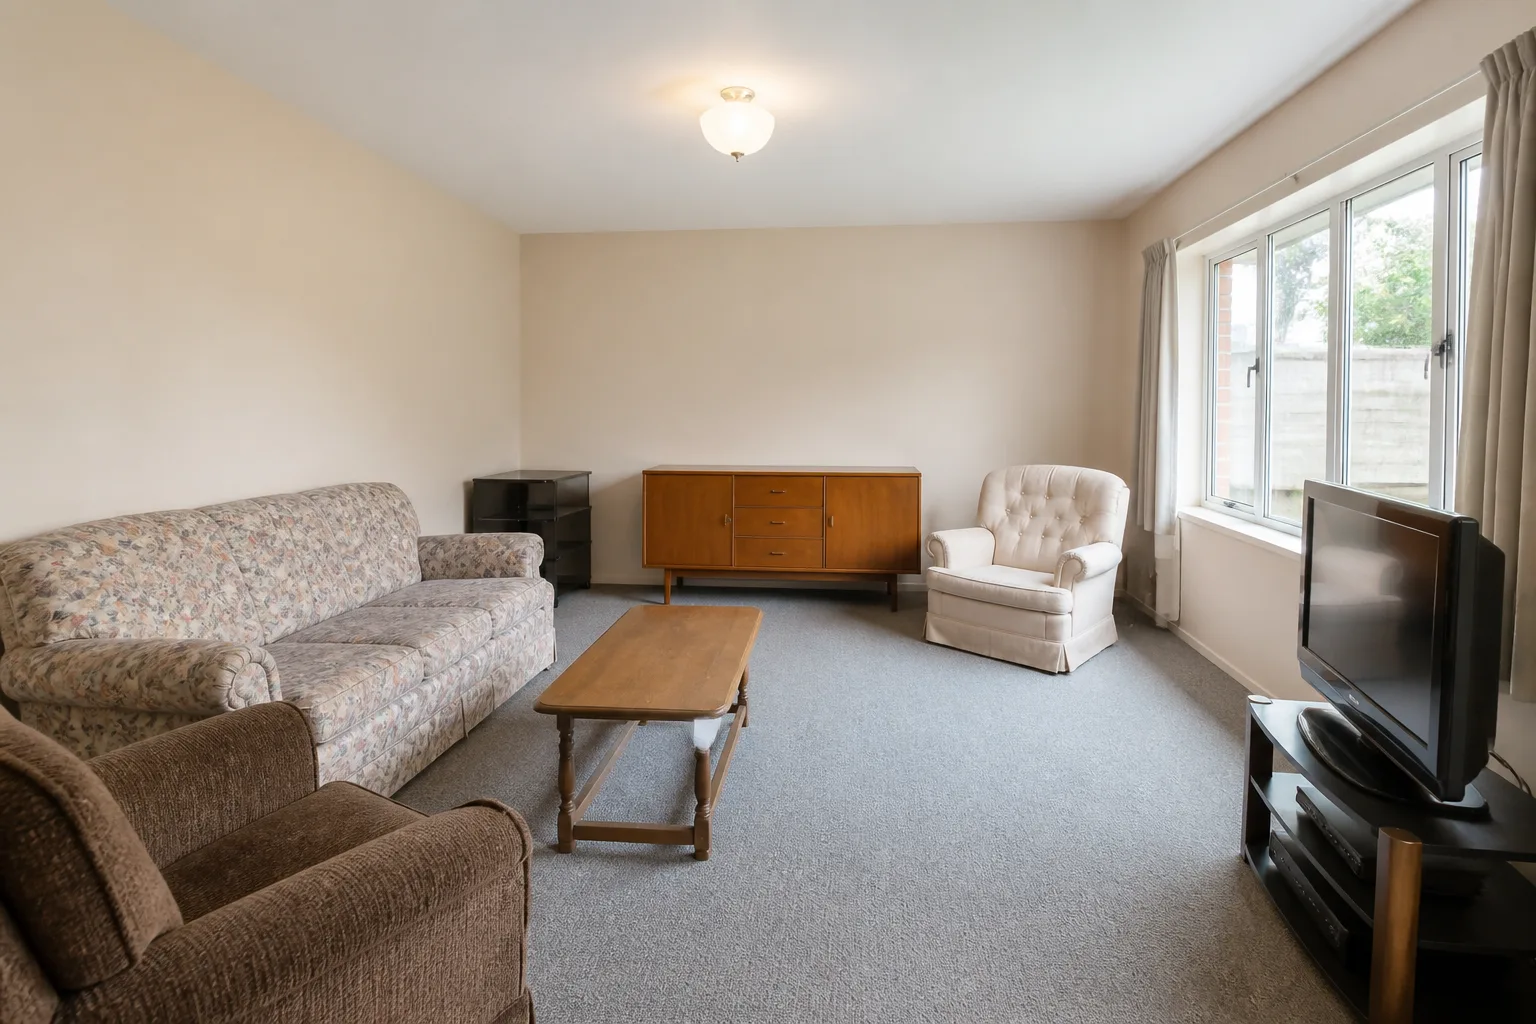
What it does
Start here. The tool treats your photo as a floor plan it must obey — the window stays where the window is, the ceiling keeps its height, the chimney breast keeps its depth — and redesigns everything a decorator could actually change. The point of that discipline is recognisability: the render you get back is your room on a better day, not a stranger's room in a nicer house. Run it a few times across different looks before committing to any one; at the Standard tier the comparison costs less than a paint sample.
How to use it
- 1Shoot from a corner, phone at chest height, so two walls and the window are in frame.
- 2Tell it which room it is looking at, then choose a look.
- 3Put the unmovables in the notes: the radiator, the door swing, the piece you are keeping.
- 4Compare three or four looks at Standard, then re-run the winner at Pro.
Questions
- Does it ever knock through or move openings?
- No — the walls, windows, doors and ceiling in the photo are locked. To explore a layout change, describe it in Design with Words instead; that tool follows instructions rather than presets.
- How do I stop it replacing something I love?
- Put it in the notes by name: "the green velvet sofa stays", "keep the parquet". Unnamed items are treated as replaceable.
- What photo gives the best result?
- Daylight, corner angle, no people, and as much of the floor visible as you can manage. The model designs around what it can see — the more room in the frame, the better the design.